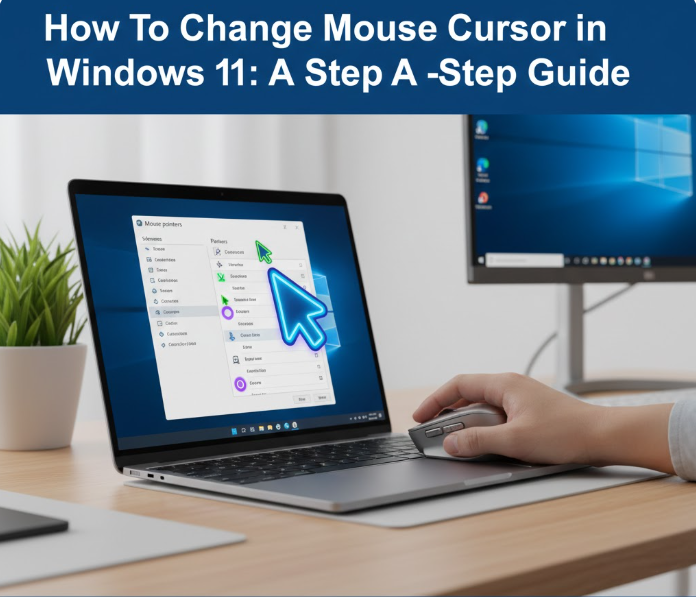
The mouse cursor is one of the most frequently used tools on your computer, yet many users stick with the default arrow without realizing they can customize it to improve visibility, usability, and personal style. Windows 11 has made this process straightforward, offering options to change cursor size, color, and themes. In this guide, we will take you through every aspect of customizing your mouse cursor, explain why it can boost productivity, and provide practical tips for different types of users.
By the end of this guide, you will be able to adjust your cursor for accessibility, efficiency, and aesthetics, ensuring your pointer is always visible and suited to your workflow.
Why Customize Your Mouse Cursor?
Before we dive into the steps, it is worth understanding why customizing your cursor is beneficial.
-
Enhanced Visibility
A default cursor may be difficult to see on large monitors, high-resolution displays, or certain backgrounds. Adjusting the size and color ensures that you can quickly locate your pointer without straining your eyes. -
Accessibility
For users with vision impairments, Windows 11 offers tools that make the cursor easier to spot. Customization improves accessibility and allows everyone to use their PC comfortably. -
Productivity
A well-chosen cursor can improve workflow efficiency. For example, different colors or themes help you distinguish your pointer in multi-monitor setups or when working with complex applications like spreadsheets, design software, or code editors. -
Personalization
Your PC should reflect your preferences. Changing the cursor to match your aesthetic or theme can make using your computer a more enjoyable experience. -
Task-Specific Customization
Advanced users can even customize cursors for specific actions, such as text selection, linking, or busy states, making it easier to distinguish between different tasks.
Step 1: Accessing Mouse Settings in Windows 11
The first step in customizing your mouse cursor is accessing the cursor settings. Windows 11 provides multiple ways to reach these settings. Here are the most straightforward methods:
Method 1: Through the Settings App
-
Press Win + I to open the Settings app.
-
In the left-hand menu, click Accessibility.
-
Scroll down and select Mouse pointer and touch.
This section allows you to change cursor size and color and offers options to enhance visibility for accessibility purposes.
Method 2: Using the Control Panel
For users who prefer the classic interface:
-
Press Win + S and type Control Panel.
-
Open Hardware and Sound → Mouse.
-
Navigate to the Pointers tab to access additional options.
Both methods allow you to adjust the cursor, but the Settings app provides a modern interface optimized for Windows 11.
Step 2: Changing Cursor Size
If your cursor is hard to see, increasing its size can make a significant difference. Windows 11 allows users to adjust the cursor size dynamically.
Steps to Adjust Cursor Size:
-
Open Settings → Accessibility → Mouse pointer and touch.
-
Use the Size slider to increase or decrease the pointer size.
-
Observe the preview at the top of the window to ensure the size fits your preferences.
Recommended Sizes:
-
Standard work: 2–3 (default size)
-
High-resolution monitors: 4–5
-
Accessibility-focused: 5–6
Increasing the cursor size not only improves visibility but also reduces eye strain during prolonged use, particularly for users who work on large or multiple displays.
Step 3: Changing Cursor Color
A larger cursor is helpful, but changing its color can make it even more visible. Windows 11 provides several color options:
-
White – Classic and clean, suitable for most users.
-
Black – High contrast for better visibility on bright backgrounds.
-
Custom – Choose any color you prefer using a palette or hex code.
Steps to Change Cursor Color:
-
In the Mouse pointer and touch settings, locate the Color section.
-
Choose from White, Black, or Custom.
-
If you select Custom, a color palette appears. Pick the color that is most visible and comfortable for your eyes.
Best Practices for Color Selection:
-
High contrast colors like bright green, blue, or yellow are easiest to see.
-
Consider colors that complement your screen setup to reduce distraction.
-
For multi-monitor setups, maintain consistency across screens.
Changing the cursor color can significantly enhance your workflow, especially if you often work with multiple applications simultaneously.
Step 4: Using Pointer Themes
Windows 11 also allows users to apply pointer themes, which change not only the cursor color but also the style and animation of the pointer.
How to Apply a Pointer Theme:
-
Press Win + S and type Mouse settings.
-
Scroll down and click Additional mouse settings under Related settings.
-
In the Mouse Properties window, go to the Pointers tab.
-
Use the Scheme dropdown to select a theme such as:
-
Windows Black (Extra Large)
-
Inverted
-
Default Windows White
-
-
Click Apply, then OK.
Pointer themes allow users to match the cursor with their desktop theme or custom workflow needs, making your system more cohesive and visually appealing.
Step 5: Customizing Individual Cursors
For advanced users, Windows 11 allows customization of individual pointer actions:
-
Normal Select: Standard arrow
-
Text Select: I-beam cursor
-
Busy: Spinning circle or hourglass
-
Precision Select: Crosshair for detailed tasks
Steps to Customize Individual Cursors:
-
Open Mouse Properties → Pointers tab.
-
Click on the pointer you want to change.
-
Click Browse to select a new cursor from available files (.cur or .ani).
-
Apply the changes.
This level of customization is particularly useful for graphic designers, programmers, or anyone who works with multiple applications requiring precision.
Step 6: Using Split Screen or Multitasking with Custom Cursors
Once you have your cursor set, combining it with Windows 11 multitasking features like split screen or snap layouts can enhance productivity:
-
Snap Layouts: Organize multiple applications side by side.
-
Cursor visibility: A large, colored pointer helps quickly navigate between apps.
-
Multiple monitors: Keep consistent cursor color and size across screens.
These tips ensure your new cursor is not just aesthetic but also practical for multitasking.
Step 7: Accessibility Considerations
Windows 11 includes accessibility tools to improve cursor visibility:
-
Pointer size and color adjustments
-
Pointer trails to track movement
-
Magnifier integration to zoom in on the pointer area
These tools are essential for users with vision impairments or anyone working long hours on complex applications.
Step 8: Common Problems and How to Fix Them
Issue 1: Cursor Not Changing Size or Color
-
Make sure Settings → Accessibility → Mouse pointer is enabled.
-
Restart Windows 11 to apply changes.
Issue 2: Custom Cursor Files Not Working
-
Only use .cur or .ani files compatible with Windows.
-
Ensure the file is not corrupted and located on the local drive.
Issue 3: Cursor Visibility on High-Resolution Monitors
-
Increase pointer size and choose a high-contrast color.
-
Consider enabling pointer trails for easier tracking.
Step 9: Tips for Optimizing Your Cursor
-
Consistency: Use the same cursor size and color across all devices for uniform experience.
-
Functionality: Customize individual pointers for tasks requiring precision.
-
Minimalism vs. Visibility: Balance between aesthetics and practicality.
-
Testing: Move your cursor across different apps and backgrounds to ensure comfort.
Step 10: Conclusion
Customizing your mouse cursor in Windows 11 is more than just a visual preference—it can enhance productivity, accessibility, and user comfort. By adjusting size, color, and theme, and leveraging advanced customization for individual pointer actions, you can make your PC experience more intuitive and tailored to your needs.
Whether you’re a professional working with multiple applications, a student switching between documents and research, or just someone who wants a more personal computing experience, Windows 11’s cursor customization options offer something for everyone.
Take the time to experiment with different sizes, colors, and themes, and you’ll likely find a configuration that makes navigating your PC faster, easier, and more enjoyable.