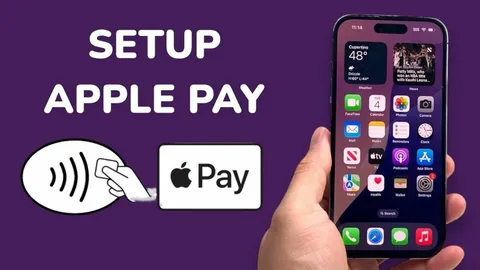
Tap to Pay on iPhone has completely changed the way people make payments. Instead of carrying cash or cards, you can now simply tap your iPhone to pay securely in seconds.
In this guide, you’ll learn how to set up Tap to Pay on iPhone step by step, even if you’re a beginner.
What Is Tap to Pay on iPhone?
Tap to Pay on iPhone uses Apple Pay technology to allow contactless payments using:
- Your iPhone
- Face ID or Touch ID
- A supported bank card
It works in stores, restaurants, taxis, and anywhere contactless payments are accepted.
Requirements Before You Start
Before setting up Tap to Pay, make sure you have:
- An iPhone with Face ID or Touch ID
- Latest iOS version installed
- A supported debit or credit card
- A participating bank (supports Apple Pay)
How to Set Up Tap to Pay on iPhone (Step-by-Step)
Follow these simple steps to activate Apple Pay on your iPhone.
Step 1: Open the Wallet App
Locate and open the Wallet app on your iPhone.
This is where all your payment cards are stored securely.
Step 2: Tap the “+” Icon
In the top-right corner, tap the plus (+) button.
This allows you to add a new debit or credit card to Apple Pay.
Step 3: Add Your Card
You can add your card in two ways:
- Scan your card using the camera
- Or enter details manually
Make sure all information is correct before continuing.
Step 4: Verify Your Card
Your bank may request verification via:
- SMS code
- Email confirmation
- Banking app approval
This step ensures your card is secure and authorized.
Step 5: Set Your Default Card
Choose which card you want as your default payment method.
You can always change this later in Wallet settings.
How to Use Tap to Pay on iPhone
Once setup is complete, paying is easy:
- Hold your iPhone near a contactless payment terminal
- Authenticate using Face ID or Touch ID
- Wait for the confirmation sound or checkmark
That’s it—you’ve paid successfully.
Benefits of Using Tap to Pay on iPhone
- Fast and contactless payments
- No need to carry physical cards
- Highly secure encryption system
- Works internationally (in supported regions)
- Easy tracking of transactions
Pro Tips for Better Use
- Keep your iOS updated for security improvements
- Add multiple cards for flexibility
- Always check if the merchant accepts Apple Pay
- Enable Face ID for faster transactions
- Monitor your transactions in the Wallet app
Common Problems & Fixes
Why can’t I add my card?
Your bank may not support Apple Pay.
Does Tap to Pay work offline?
Yes, Apple Pay can work without internet for payments.
Is Tap to Pay safe?
Yes. Apple uses encryption and tokenization to protect your card details.
What if my iPhone is lost?
You can disable Apple Pay remotely using Find My iPhone.
Frequently Asked Questions (SEO Boost Section)
How do I set up Tap to Pay on iPhone?
Open Wallet → Tap + → Add card → Verify → Start using Apple Pay.
Which iPhones support Tap to Pay?
Most iPhones with Face ID or Touch ID support Apple Pay.
Is Apple Pay free to use?
Yes, Apple does not charge any fees.
Can I use multiple cards?
Yes, you can add and switch between multiple cards.
Conclusion
Setting up Tap to Pay on iPhone is one of the easiest ways to modernize your payments. In just a few minutes, you can turn your phone into a secure digital wallet.
With Apple Pay, payments become faster, safer, and completely contactless—perfect for everyday life in 2026.
If you haven’t set it up yet, now is the best time to do it.