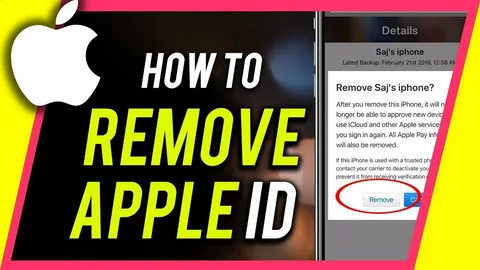
Removing an Apple ID from an iPhone is an important step when you’re selling, gifting, or resetting the device. It ensures your personal data, subscriptions, and iCloud content are fully disconnected so the next user can start fresh without access to your information.
Below is a clearer, safer, and more complete step-by-step guide (including the correct modern iOS flow).
How to Remove Apple ID from iPhone (Proper Method)
Step 1: Back up your data first
Before doing anything, make sure you back up your data using:
- iCloud backup, or
- Computer backup (Mac or Windows)
This ensures you don’t lose photos, contacts, or important files.
Step 2: Open Settings
Go to the Settings app on your iPhone.
Tap your Apple ID name (top of the screen).
Step 3: Sign out of Apple ID (iCloud)
Scroll down and tap:
Sign Out
You will be asked to enter your Apple ID password.
This step removes:
- iCloud data sync
- Messages linked to iCloud
- Apple services tied to your account
Step 4: Turn off Find My iPhone
During sign-out, your iPhone will ask you to disable:
Find My iPhone
You must enter your password to proceed.
This is required to remove activation lock and prevent the device from staying tied to your account.
Step 5: Choose what to keep (optional prompts)
Your iPhone may ask if you want to keep a copy of:
- Contacts
- Keychain
- Safari data
Since you’re removing the Apple ID, choose based on whether you’re keeping or selling the phone.
Step 6: Go to Erase iPhone (factory reset)
Now go to:
Settings → General → Transfer or Reset iPhone → Erase All Content and Settings
Confirm when prompted.
This removes:
- Apple ID connection
- Apps and data
- Settings and personal files
Step 7: Wait for restart
Your iPhone will reboot and show the “Hello” setup screen.
At this point, the Apple ID has been fully removed.
What happens after removing Apple ID?
Once complete:
- iCloud is fully disconnected
- App Store purchases are removed from the device
- “Find My iPhone” is disabled
- The phone becomes ready for a new user
Important tips (very important)
- Make sure you remember your Apple ID password before starting
- Don’t skip disabling Find My iPhone (activation lock depends on it)
- Sign out of iMessage and FaceTime if they don’t automatically disconnect
- If selling, confirm the device shows the “Hello” setup screen
Common mistakes people make
1. Only erasing the phone without signing out
→ This can leave Activation Lock active
2. Forgetting iCloud password
→ You cannot fully remove Apple ID without it
3. Not backing up data
→ Leads to permanent loss of photos and files
Final thought
Removing an Apple ID is basically “handing over ownership” of your iPhone. When done properly, it ensures your privacy is protected and the next user gets a clean, ready-to-use device.
If you want, I can also show you:
- how to remove Apple ID without password (legit cases only)
- or how to check if an iPhone is still iCloud locked before buying it
Leave a Reply